Five Common Ikea Cabinet Mistakes

Mistakes happen
1: Using the wrong hinges
There are two main hinges that you’ll use on an Ikea cabinet project. The Utrusta 110° hinge is the workhorse that is also the right hinge in about 90% of cases. It’s a great hinge: it has a built in damper, in other words, it’s soft closing. It has adjustability in all three axes, making alignment easy. And little known fact: this hinge, like most of Ikea’s cabinet hardware, is built in Austria by Blum, which makes truly world class products. Great hinge.
That said, there are cases where your project will require a different hinge. The second most commonly used hinge is the Utrusta 153°. This is a much more substantial looking hinge. What’s different about this hinge is that when the cabinet door swings open, it also fully swings out of the way so that any drawers can be opened without the drawers hitting the open cabinet door. Sounds like a lot of words. To put it differently, you’ll need the 153° hinge if you have drawers behind your cabinet drawer.
Knowing just these two points will make picking your hinges much easier. And don’t worry too much - you can always swap the hinges if you find that you’ve used the wrong ones.

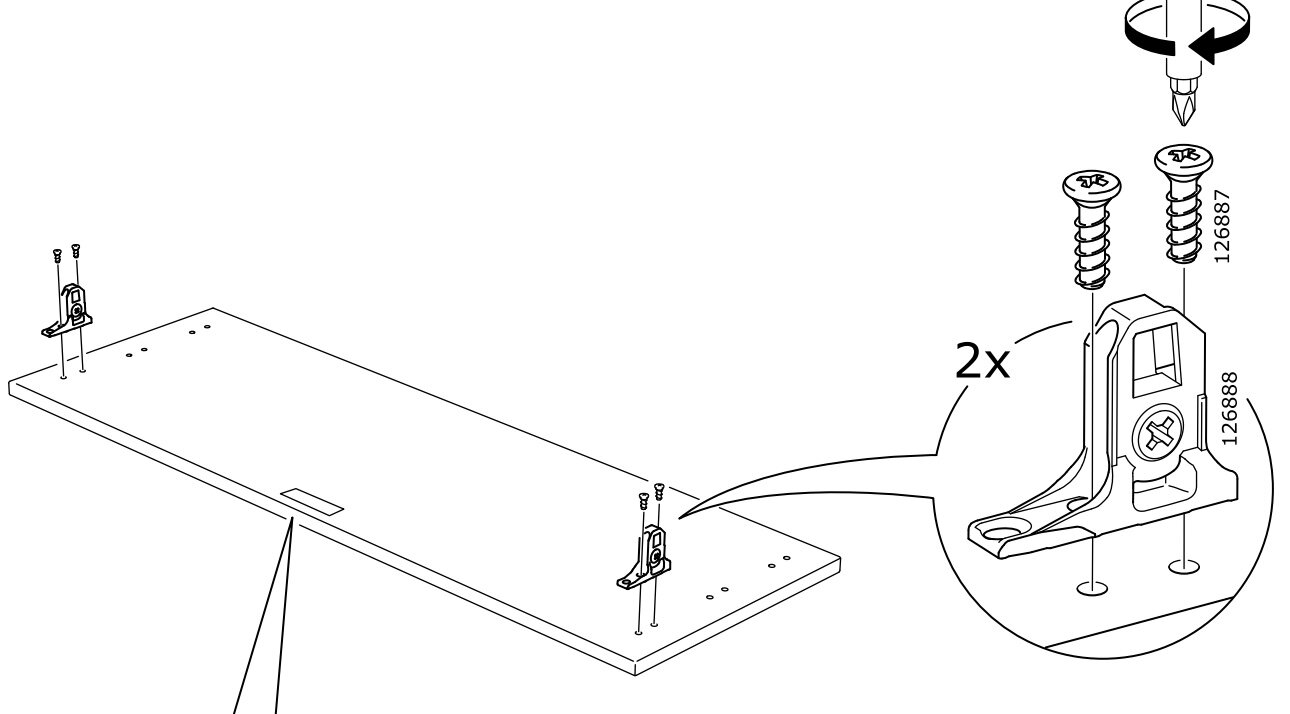
The Utrusta 110° hinge. This is a great hinge, and the one you will use in most applications.

Utrusta 110°

The Utrusta 153° hinge. Use this hinge for when you have drawers tucked behind a door.

Utrusta 153°
2: Using the wrong length panels at end of cabinets (36” not 30” panel)
All Ikea base cabinets are 30” tall. You’ll become accustomed to this length. But keep in mind that your base cabinet box will be sitting on top of legs, typically 4.5” high. This means that the total height from the finished floor to the top of the Ikea box will be around 34.5”, not 30”! When you select end panels, make sure you keep this in mind. In most cases you’ll want a full height end panel, meaning you’ll want to select the 36” height panel. This will be oversized on height, allowing you or your installer to cut it to the correct height on site. If you select the 30” height panel, keep in mind that you will have a gap beneath the end of your cabinet box and will need to wrap the toe kick around. It’s an option, just not a particularly finished look.
3: Not putting spacers next to wall for fridge door opening
This mistake has been made too many times. And it’s a particularly painful one to fix once the cabinets are installed. But a little bit of planning goes a long way!
In short, if your fridge will be installed near a wall, make sure there is at least 6” of space between the side of the fridge and the wall. This is critical so that the fridge door can be opened to a useful width before the door, or more commonly, the handle hits the wall. Forgetting to do this means you’ll be stuck with a fridge door that doesn’t fully open and make you constantly cramped getting items in and out of the fridge.

Opening that left door is going to be tricky.

Open the right door and as an added bonus, turn off the lights.

Cool fridge. Until you try to open the left door.
4: Not accounting for door trim and interfering with drawer opening
Similar to the previous mistake of not adding a filler for a fridge next to a wall, you’ll want to make sure that any drawers that are next to a door or window with trim has a filler. If not, your drawer may strike the door trim when opened. A 2” filler between the end of the cabinet and the wall will avoid this problem, plus adds a nice, built-in look.


5: Mounting bottom drawer at wrong height
Ikea’s Sektion cabinet system is built around the Maximera drawer system. These are great drawers that come in a variety of sizes. The widths are matched to the cabinet box width. The depths are matched to fit either the 24” or 15” deep cabinet box. And there are a number of drawer heights to pick from, ranging from shallow trays for silverware to deep drawers for pots and pans. And the hardware is actually designed and produced by Blum, featuring smooth, strong, soft closing drawers. They are great drawers.
What’s not great is the very subtle but critical detail in how the drawer fronts are attached to the drawer box. This is a detail that is frequently missed, leading to a lot of head scratching on why the drawers are not closing, or the drawer front not fitting at all. Look at the two illustrations below and see if you spot the difference.

When attaching the front to the bottom Maximera drawer
And when attaching the front to any drawer that is not the bottom Maximera drawer
So when you get to the point of assembling your Maximera drawers and mounting to the fronts, remember that there is a difference in how the hardware is mounted for the lower drawer box.